Looking for an easy transformations project that covers the 8th-grade geometry standards for transformations on the coordinate plane? Here’s a fun (and easy!) project idea that you can use to assess students on transformations, rotations, reflections, and dilations.
Transformations on the coordinate plane have always been one of my favorite middle school math topics. There are so many ways to make these standards fun and hands-on.
Your students will need to already understand translations, rotations, reflections, and dilations to complete this project, but if you’re looking for some fun ways to teach students about transformations, you can check out how I use patty paper to allow students to discover the rules for transformations here.
Why you (and your students) will love this project
It can be challenging to find opportunities for students to be creative in math class, but this transformations project will allow students to be as creative as they’d like! I’ve had students draw everything from emojis to trending memes that I don’t understand…
Of course, I’ve always had a few students who use the bare minimum number of points, but most of my students have consistently gone above the required amount and come up with some very creative designs.
How it works
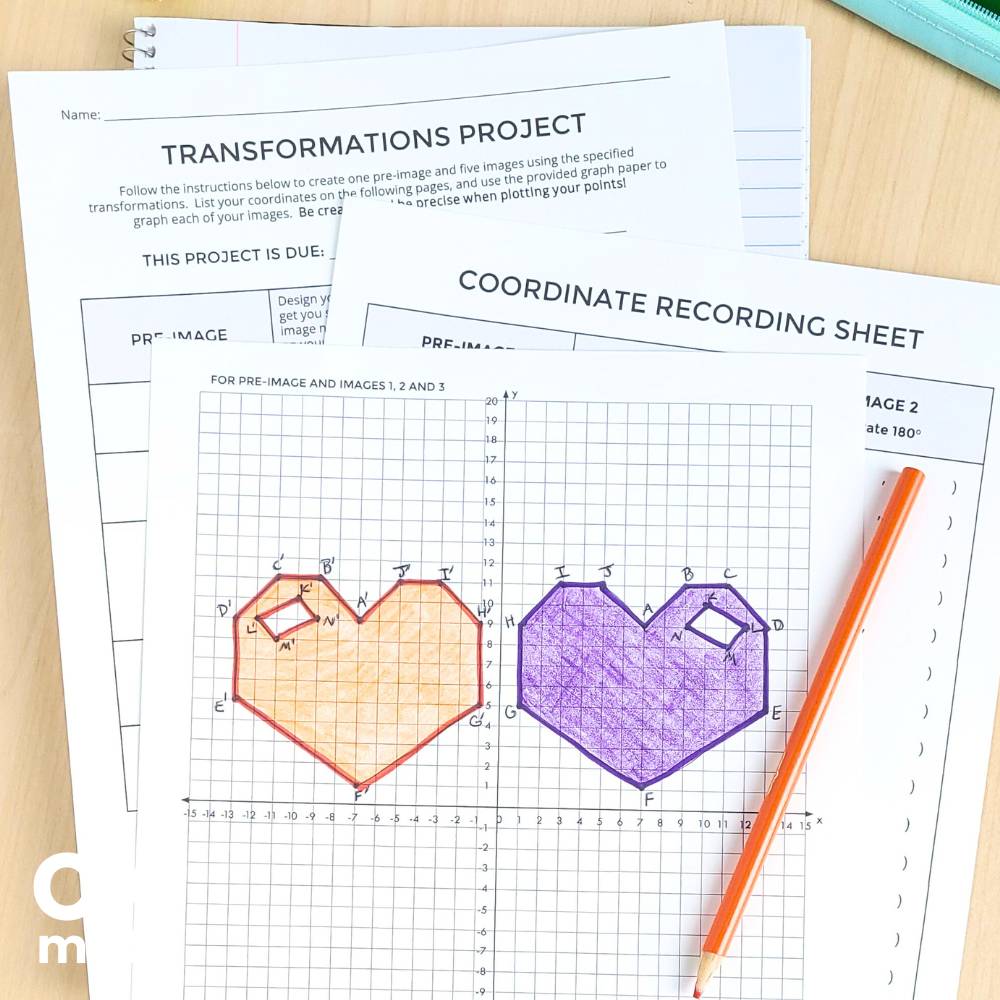
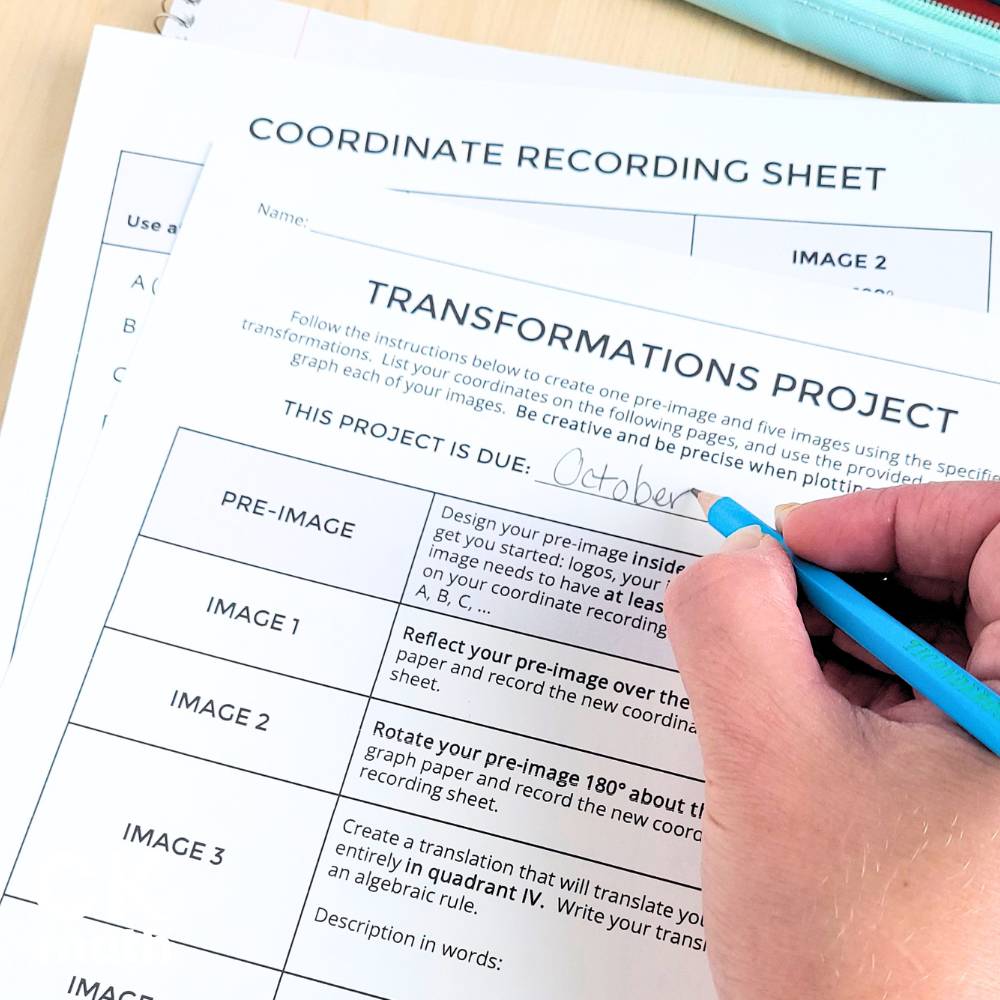
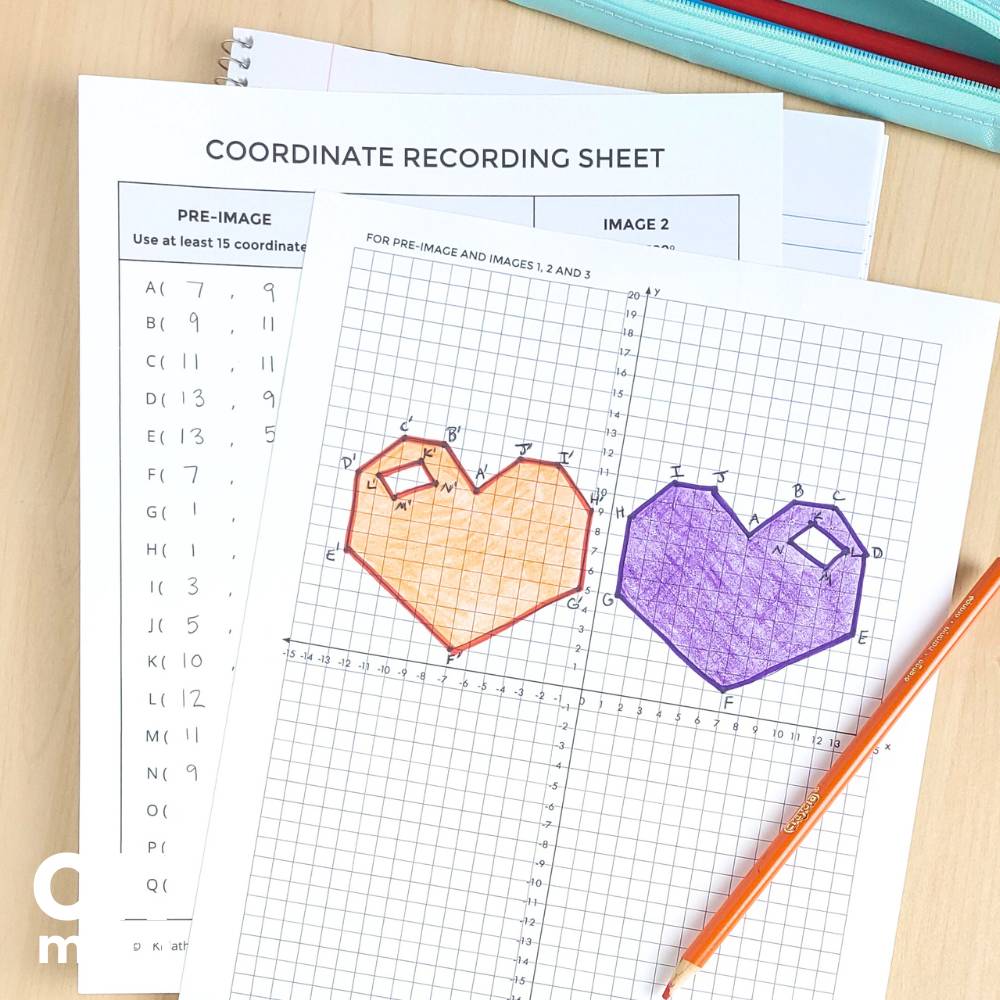
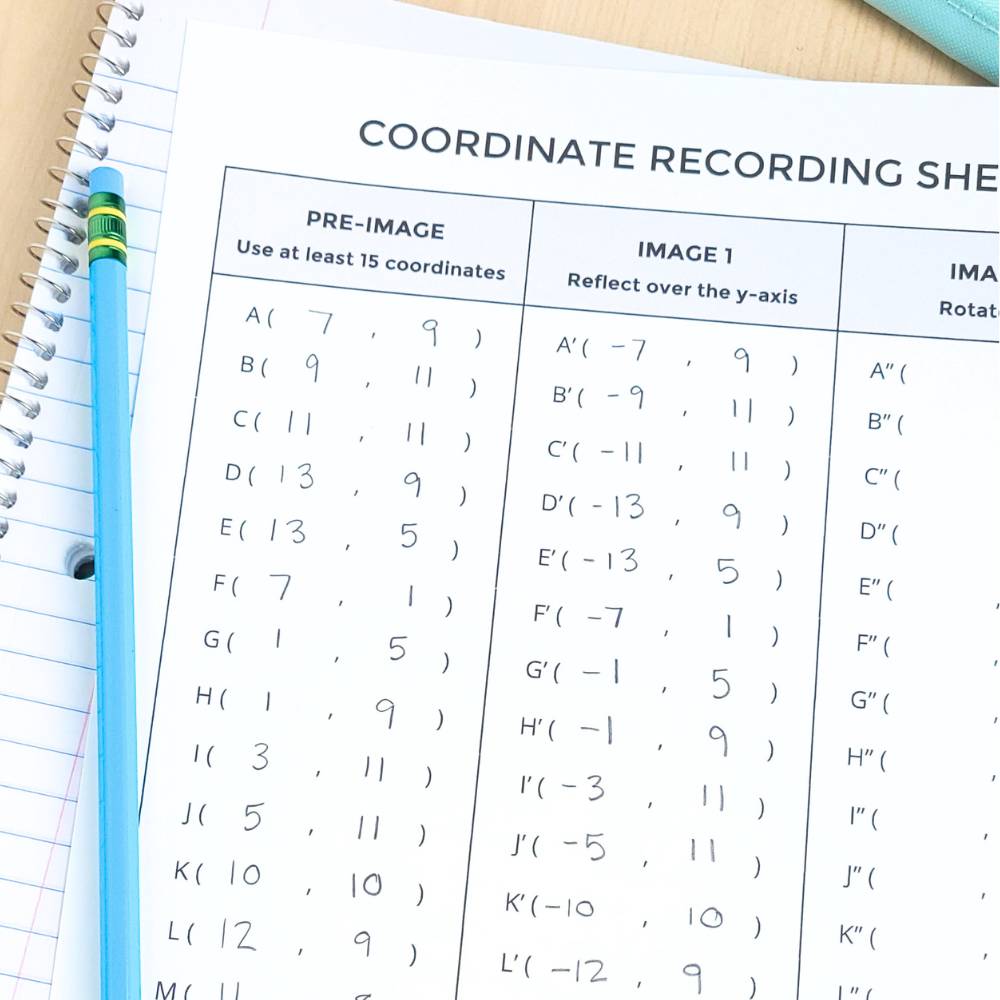
Students will design and plot a pre-image in the first quadrant. I require their pre-image to have at least 15 coordinates. They’ll then complete five transformations – one translation, one rotation, one reflection, and two dilations (one enlargement and one reduction).
I set up the instructions so they reflect their pre-image over the y-axis into quadrant II, rotate the figure 180° into quadrant III, and then create a translation that moves the figure into quadrant IV. This keeps the figures from overlapping.
Due to their size, I have them draw the dilations on separate graph paper.
I also provide them with a recording sheet where they have to record the coordinates for all six drawings, including the pre-image. This allows them to practice the coordinate rules for transformations as well. (It also makes it easier to check if they’ve done the transformations correctly.)
What you’ll need
You’ll need a sheet for students to record their coordinates, graph paper, and colored pencils/markers for students to finish their designs. Personally, I prefer printable graph paper on cardstock so that I can easily hang students’ finished designs on a wall or bulletin board. I also like that my printable graph paper already includes the x and y-axes. Here are my favorites for each of these items:
- Graph Paper – I prefer printing graph paper on cardstock, but I recommend this option if you prefer pre-printed graph paper.
- Cardstock – This is the cardstock I use to print my graph paper. You can find my printable graph paper, along with the other sheets I use for this project, below.
- Coloring Supplies – I allow students to use both markers and colored pencils to finish their designs.
- Rulers – I like to have rulers available for students who need a guide to help them connect their points. If you don’t use graph paper that includes the x- and y-axes, students can also use rulers to create them.

Want it done for you?
Can I save you a little time? I have the full transformations project ready to print and go here. It includes the instructions, a recording sheet for students to write their coordinates, and all the graph paper in a simple packet. There’s also an editable rubric for easy grading.
The only things you’ll need are some colored pencils or markers for students to complete their designs, rulers, and possibly cardstock for the graph paper if you plan to hang these up!
Looking for more resources for teaching transformations?
You can read more about how I use patty paper to help students discover the rules for transformations here. You can also find a fun activity to teach dilations on the coordinate plane here.